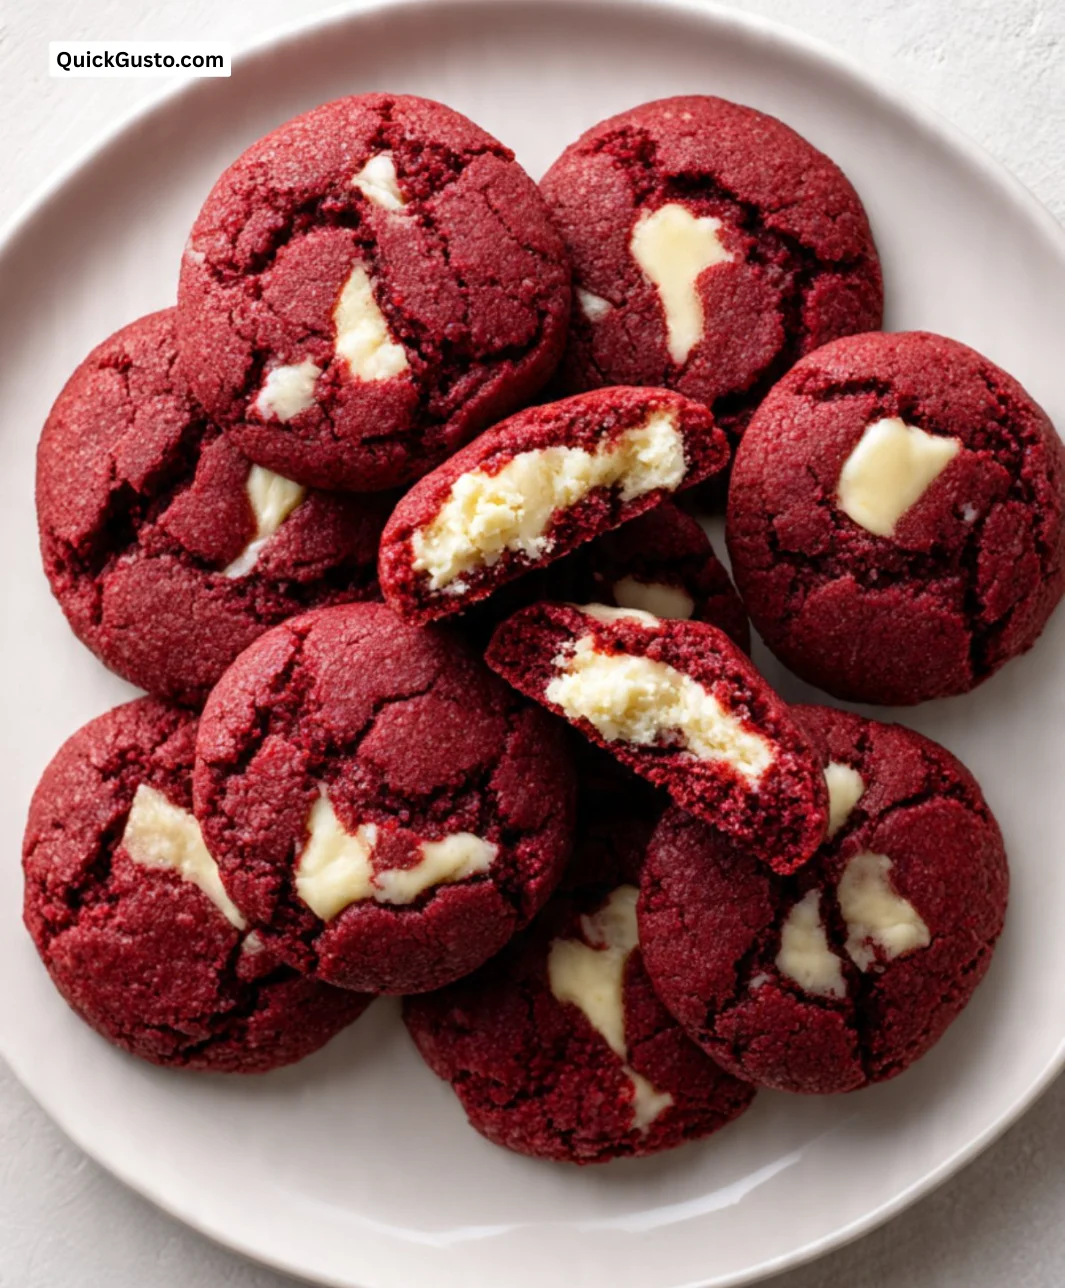
There’s something undeniably magical about baking cookies, especially when they’re as vibrant and decadent as Red Velvet Cheesecake Cookies. I remember the first time I made these delightful treats; the rich aroma of cocoa mingling with vanilla filled my kitchen, drawing my family in like moths to a flame. As soon as they emerged from the oven, their striking red color and creamy centers turned the room into a celebration. Not only did they taste heavenly, but they also looked like little clouds of joy, making our ordinary day feel a touch more festive. They quickly became a staple during the holidays and are now a cherished tradition in our home.
Recipe Timing
- Prep Duration: 20 minutes
- Active Cooking: 12 minutes
- Total Duration: 32 minutes
- Portion Size: About 24 cookies
- Complexity: Moderate
Nutritional Recipe
- Calories per portion: Approximately 200
- Protein: 2g
- Carbs: 24g
- Fats: 10g
- Fiber: 1g
- Sugars: 12g
- Sodium: 150mg
Why You’ll Love This Red Velvet Cheesecake Cookies
Imagine biting into a soft, pillowy cookie that’s rich with almond and chocolate notes, only to discover a smooth and tangy cream cheese filling at its center. Each cookie is not just a dessert; it’s an enchanting experience that combines the elegance of red velvet cake with the indulgence of cheesecake. They’re perfect for sharing at cozy gatherings or even as a sweet surprise in lunchboxes. Whether you’re celebrating a special occasion or just indulging in a treat after a long day, they never fail to bring smiles.
The Complete Cooking Journey
Let’s dive into the joyous journey of creating these luscious cookies. You’ll start with the comforting task of creaming together butter and sugars, filling your kitchen with warmth and sweetness. The cinnamon and cocoa flavors evoke nostalgia, creating a serene atmosphere as you mix, shape, and finally bake your masterpieces. Trust me; you’ll be grinning ear to ear as you watch your family devour these cookies with pure delight.
Ingredients:
- 1 cup unsalted butter, softened
- 1 cup granulated sugar
- 1 cup brown sugar, packed
- 2 large eggs
- 1 teaspoon vanilla extract
- 2 1/2 cups all-purpose flour
- 1/4 cup unsweetened cocoa powder
- 1 teaspoon baking soda
- 1/2 teaspoon salt
- 2 tablespoons red food coloring
- 1 cup cream cheese, softened
- 1/2 cup powdered sugar
Method:
Step 1: Preheat the Oven
Preheat the oven to 350°F (175°C). This is a crucial step that ensures your cookies bake perfectly, creating that coveted soft texture.
Step 2: Cream the Butters and Sugars
In a large bowl, cream together the butter, granulated sugar, and brown sugar until light and fluffy. This not only combines the ingredients but also introduces air, essential for achieving that soft texture.
Step 3: Add Eggs and Vanilla
Add eggs one at a time, mixing well after each addition. Stir in the vanilla extract to infuse a delightful flavor into the dough.
Step 4: Combine Dry Ingredients
In another bowl, combine the flour, cocoa powder, baking soda, and salt. Gradually add this mixture to the creamed ingredients, mixing until just combined.
Step 5: Add the Color
Mix in the red food coloring until evenly incorporated. This is where the magic happens, turning your cookie dough a beautiful deep red.
Step 6: Make the Cream Cheese Filling
In a small bowl, beat together the cream cheese and powdered sugar until smooth. This creamy filling will add a delicious contrast to the cookie’s texture.
Step 7: Form the Cookie Dough
Drop spoonfuls of cookie dough on a lined baking sheet, creating a small well in the center of each. Don’t be shy; the more generous, the better!
Step 8: Fill the Wells
Fill the well with your smooth cream cheese mixture. This is the heart of the cookie, adding a delightful surprise when they’re ready to eat.
Step 9: Bake the Cookies
Bake for 10-12 minutes or until the edges are set. Keep an eye on them; the goal is soft cookies that will firm up slightly as they cool.
Step 10: Cool and Enjoy!
Allow to cool on the baking sheet for a few minutes before transferring to a wire rack. This helps them set perfectly while still retaining that soft, melt-in-your-mouth quality.
Serving Suggestions & Pairings
These cookies shine on their own but truly come to life when paired with a glass of cold milk or a cup of peppermint tea. For an added touch, serve them with a scoop of vanilla ice cream for a delightful dessert experience.
Storage & Leftovers Guide
Store any leftovers in an airtight container at room temperature for up to 5 days. If you want to keep them longer, freeze them for up to 3 months. Simply thaw at room temperature when you’re ready to enjoy them again!
Kitchen Wisdom & Success Tips
- Softening Butter: If you forget to take your butter out of the fridge, quickly soften it in the microwave for a few seconds. Ensure it doesn’t melt.
- Room Temperature Eggs: For best results, use eggs at room temperature to create a smooth batter.
- Measuring Flour: Spoon flour into your measuring cup and level off with a knife for the most accurate measurement.
Flavor Variations & Adaptations
Feel free to get creative! You can replace the red food coloring with other colors for a fun twist, or even mix in chocolate chips for an extra chocolatey delight. For a festive touch, try adding a dash of peppermint extract during the holidays!
Reader Questions & Solutions
- Why are my cookies flat? This could be due to overmixing the dough or not enough flour. Ensure you don’t over-cream the butter and sugar.
- How can I make these gluten-free? Substitute all-purpose flour with a gluten-free blend that includes xanthan gum.
- Can I use margarine instead of butter? While it’s possible, butter provides a richer flavor and better texture.
- Can I freeze the dough? Absolutely! Freeze the dough balls before baking, and you can bake fresh cookies whenever the craving strikes.
- What is the best way to soften cream cheese? Leave it at room temperature for about 30 minutes, or microwave it for about 10 seconds for faster results.
Wrapping Up
Red Velvet Cheesecake Cookies are not just treats; they’re a celebration of flavor, color, and texture. Whether for a special occasion or just a rainy afternoon, these cookies will brighten your day and leave your loved ones satisfied. Don’t just take my word for it—get in the kitchen, roll up your sleeves, and start baking! You won’t regret it; your taste buds will thank you. Happy baking!
Print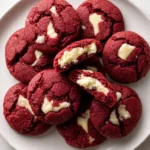
Red Velvet Cheesecake Cookies
- Total Time: 32 minutes
- Yield: 24 cookies 1x
- Diet: Vegetarian
Description
Delightful red velvet cookies with a creamy cheesecake filling, perfect for any occasion.
Ingredients
- 1 cup unsalted butter, softened
- 1 cup granulated sugar
- 1 cup brown sugar, packed
- 2 large eggs
- 1 teaspoon vanilla extract
- 2 1/2 cups all-purpose flour
- 1/4 cup unsweetened cocoa powder
- 1 teaspoon baking soda
- 1/2 teaspoon salt
- 2 tablespoons red food coloring
- 1 cup cream cheese, softened
- 1/2 cup powdered sugar
Instructions
- Preheat the oven to 350°F (175°C).
- Cream together the butter, granulated sugar, and brown sugar until light and fluffy.
- Add eggs one at a time, mixing well after each addition. Stir in the vanilla extract.
- Combine the flour, cocoa powder, baking soda, and salt in another bowl. Gradually add this mixture to the creamed ingredients, mixing until just combined.
- Mix in the red food coloring until evenly incorporated.
- In a small bowl, beat together the cream cheese and powdered sugar until smooth.
- Drop spoonfuls of cookie dough on a lined baking sheet, creating a small well in the center of each.
- Fill the well with the cream cheese mixture.
- Bake for 10-12 minutes or until the edges are set.
- Allow to cool on the baking sheet for a few minutes before transferring to a wire rack.
Notes
Store any leftovers in an airtight container at room temperature for up to 5 days or freeze for up to 3 months.
- Prep Time: 20 minutes
- Cook Time: 12 minutes
- Category: Dessert
- Method: Baking
- Cuisine: American
Nutrition
- Serving Size: 1 cookie
- Calories: 200
- Sugar: 12g
- Sodium: 150mg
- Fat: 10g
- Saturated Fat: 6g
- Unsaturated Fat: 4g
- Trans Fat: 0g
- Carbohydrates: 24g
- Fiber: 1g
- Protein: 2g
- Cholesterol: 30mg