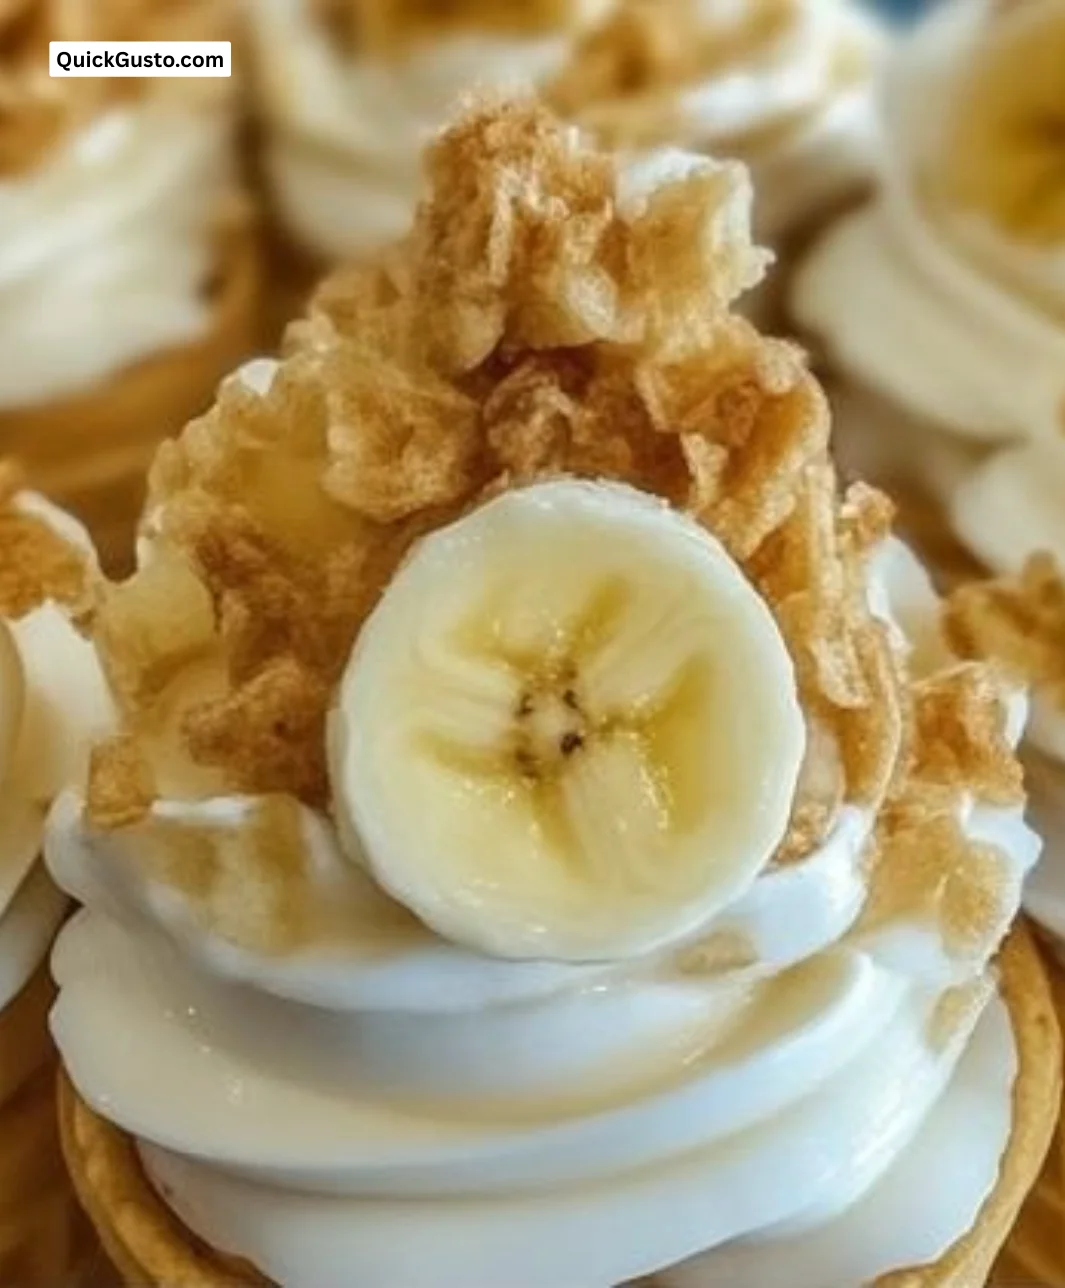
There’s a certain joy found in desserts that remind us of our childhood. I remember the sweltering summer days spent at my grandmother’s house, where the cool kitchen was filled with laughter and the tantalizing smell of her baking. One dessert always seemed to turn up for those warm afternoons: banana pudding. Each spoonful brought not just a taste sensation but a river of memories, rich with love and flavor. So when the thought struck me to meld this iconic dessert with cheesecake into a handheld delight, I knew I had to create Banana Pudding Cheesecake Cones. Picture this: creamy cheesecake filling, ripe banana slices, and crunchy vanilla wafer cookies, all cleverly nestled into a crispy cone. I couldn’t wait to share this dreamy dessert with you!
Recipe Timing
- Prep Duration: 15 minutes
- Active Cooking: 0 minutes
- Total Duration: 15 minutes
- Portion Size: Serves 4
- Complexity: Simple
Nutritional Recipe
- Calories per portion: Approximately 350 calories
- Protein: 4 grams
- Carbs: 50 grams
- Fats: 16 grams
- Fiber: 1 gram
- Sugars: 24 grams
- Sodium: 180 mg
Why You’ll Love This Banana Pudding Cheesecake Cones
These Banana Pudding Cheesecake Cones are more than just a dessert; they’re an experience! With layers of creamy cheesecake, sweet bananas, and the delightful crunch from vanilla wafers, each bite transports you to sunny days filled with laughter. Perfect for parties, picnics, or even a cozy night in, these cones are as portable as they are delectable. Plus, who doesn’t love a dessert that presents itself in such a fun, edible vessel?
The Complete Cooking Journey
Let me take you step-by-step through this delicious adventure. We’ll start by creating that luscious filling—think creamy, dreamy cheesecake—before layering it with banana slices and crushed waivers in a delightful cone. Trust me, it’s as easy as pie (or should I say, cones!).
Ingredients:
- 1 cup cheesecake filling
- 2 ripe bananas, sliced
- 1 cup vanilla wafer cookies, crushed
- 1/2 cup whipped cream
- 1 tsp vanilla extract
- Cone-shaped waffle cones
Method:
Step 1: Whip Up the Cheesecake Filling
In a bowl, combine the cheesecake filling and whipped cream until smooth. This combination transforms into a light and airy mixture that sets the base for our cones.
Step 2: Fold in the Bananas and Flavor
Add the sliced bananas and vanilla extract, folding gently until combined. Be careful here—preserve the bananas’ shape for that delightful textural contrast!
Step 3: Layer with Crushed Cookies
Take the waffle cones and fill each one with a layer of crushed vanilla wafer cookies. This crunch adds a delightful texture and stays true to the classic banana pudding experience.
Step 4: Fill the Cones Generously
Spoon the banana cheesecake mixture into the cones, filling them generously. Don’t be shy here; the more, the merrier!
Step 5: Top with Whipped Cream
Top with additional whipped cream and crushed cookies if desired. This is your moment to get creative!
Step 6: Serve & Enjoy!
Serve immediately or refrigerate for a short period until ready to enjoy. They make for a great make-ahead option for gatherings.
Serving Suggestions & Pairings
These banana pudding cheesecake cones shine on their own but pairing them with a drizzle of chocolate sauce or a scoop of vanilla ice cream takes them to another level of indulgence. They also pair beautifully with a refreshing iced tea or a light sparkling drink on a warm day.
Storage & Leftovers Guide
While these cones are best enjoyed fresh, you can store the cheesecake filling and crushed cookies in the fridge separately for up to two days. Just fill the cones right before serving to maintain the crispiness of the waffle cones.
Kitchen Wisdom & Success Tips
- Make It Ahead: You can prepare the filling a day in advance. Just store it covered in the refrigerator!
- Banana Alternatives: If bananas aren’t your thing, try swapping them for ripe strawberries or peaches for a fruity twist.
- Waffle Cone Care: To prevent the cones from getting soggy, make sure to layer with cookies first before adding the filling.
Flavor Variations & Adaptations
Feeling adventurous? Add a splash of caramel syrup for a salted caramel twist or mix in some crushed pineapple for a tropical flair. You can also experiment with flavored whipped cream, such as chocolate or strawberry, to tantalize those taste buds even more!
Reader Questions & Solutions
-
Can I use store-bought cheesecake filling?
Absolutely! It saves time and tastes great. -
What if I prefer a different fruit?
Feel free to substitute bananas with your favorite fruits like strawberries or berries! -
Can I freeze the cones?
Waffle cones may not hold up well in the freezer. It’s best to fill them right before serving. -
How long can I keep them in the fridge?
It’s best to enjoy them within a couple of hours of making them for the freshest taste. -
What if I don’t have whipped cream?
You can use a whipped topping or simply add more cheesecake filling for creaminess.
Wrapping Up
These Banana Pudding Cheesecake Cones are the perfect way to invite nostalgia and joy into your home. There’s nothing quite like the playful crunch of waffle cones combined with the creamy banana cheesecake filling. I hope you feel inspired to recreate this delightful dessert, bringing smiles to the faces of those you share it with. Enjoy your culinary adventure, and remember: cooking is best when shared! Happy munching!
Print
Banana Pudding Cheesecake Cones
- Total Time: 15 minutes
- Yield: 4 servings 1x
- Diet: Vegetarian
Description
Delightful handheld desserts that combine creamy cheesecake filling, ripe bananas, and crunchy vanilla wafer cookies in crispy cones.
Ingredients
- 1 cup cheesecake filling
- 2 ripe bananas, sliced
- 1 cup vanilla wafer cookies, crushed
- 1/2 cup whipped cream
- 1 tsp vanilla extract
- Cone-shaped waffle cones
Instructions
- Whip the cheesecake filling and whipped cream in a bowl until smooth.
- Fold in the sliced bananas and vanilla extract gently.
- Take the waffle cones and fill each with a layer of crushed vanilla wafer cookies.
- Spoon the banana cheesecake mixture into the cones generously.
- Top with additional whipped cream and crushed cookies if desired.
- Serve immediately or refrigerate until ready to enjoy.
Notes
Best enjoyed fresh, but filling and cookies can be stored separately for up to two days. Fill cones right before serving.
- Prep Time: 15 minutes
- Cook Time: 0 minutes
- Category: Dessert
- Method: No Bake
- Cuisine: American
Nutrition
- Serving Size: 1 cone
- Calories: 350
- Sugar: 24g
- Sodium: 180mg
- Fat: 16g
- Saturated Fat: 8g
- Unsaturated Fat: 8g
- Trans Fat: 0g
- Carbohydrates: 50g
- Fiber: 1g
- Protein: 4g
- Cholesterol: 30mg