why make this recipe
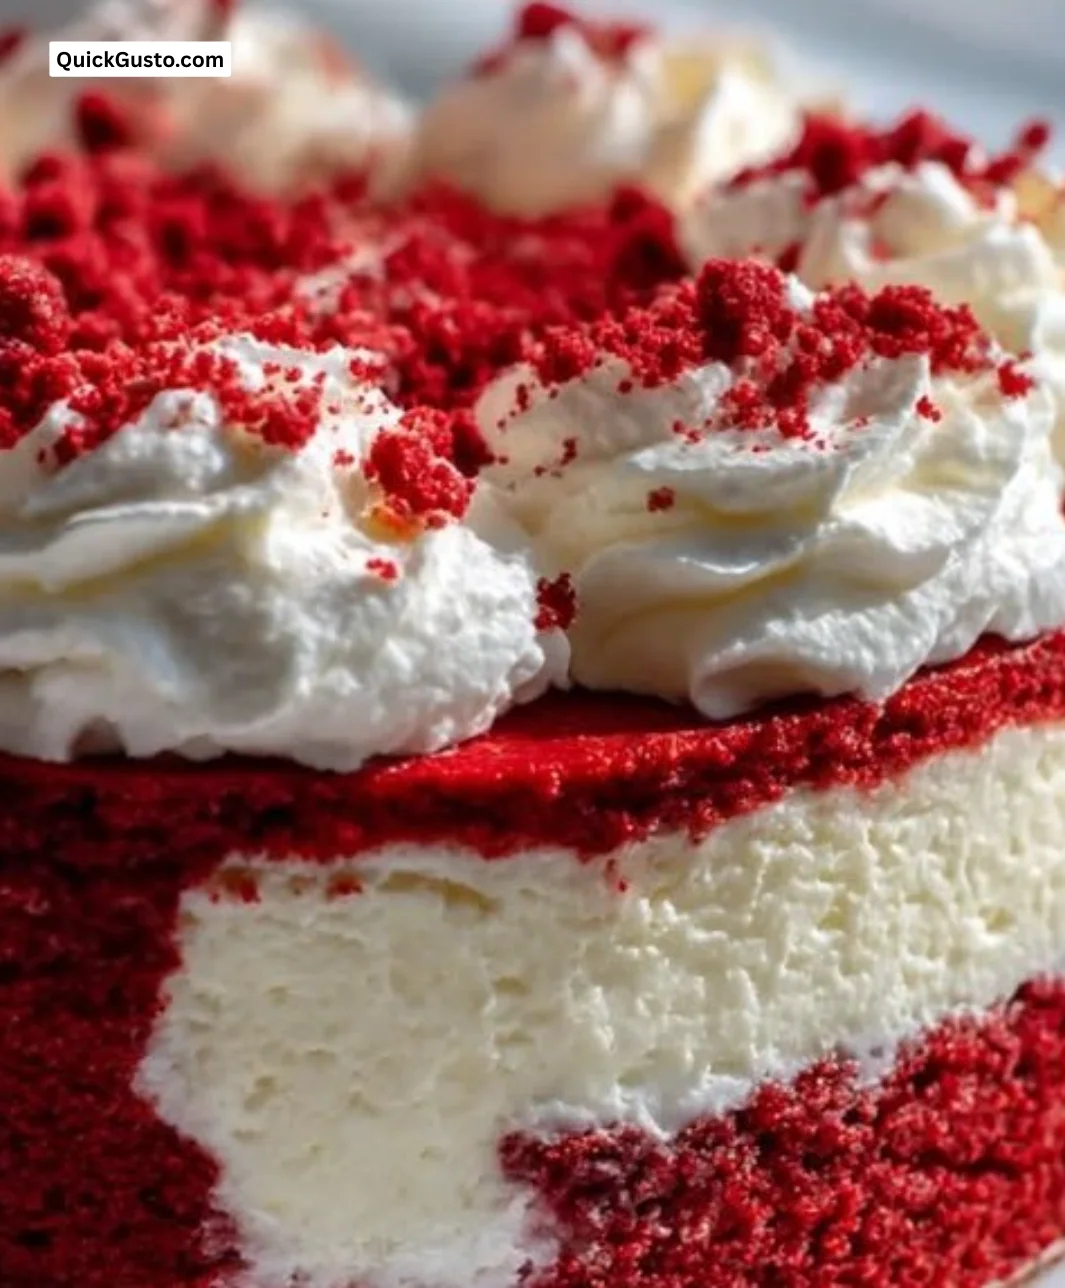
Red Velvet Cheesecake is the perfect dessert for anyone who loves a blend of rich flavors and beautiful presentation. This creamy cheesecake has a distinct red velvet cake base that adds a fun twist to the traditional cheesecake. It’s great for special occasions like birthdays or holidays, and it can impress your friends and family with its vibrant color and delicious taste. Plus, it combines two favorite desserts into one delightful treat!
how to make Red Velvet Cheesecake
Ingredients :
- 2 cups red velvet cake mix
- 1/2 cup unsalted butter, softened
- 2 large eggs
- 1/2 cup milk
- 16 oz cream cheese, softened
- 1 cup sugar
- 1 teaspoon vanilla extract
- 2 cups heavy cream
- 1/4 cup powdered sugar
- Red food coloring (optional)
- Chocolate shavings or red velvet crumbs for garnish
Directions :
- Preheat your oven to 350°F (175°C). Grease and flour a 9-inch springform pan.
- In a large mixing bowl, combine the red velvet cake mix, softened butter, eggs, and milk. Mix until well combined and pour into the prepared pan.
- Bake the cake for 25-30 minutes, or until a toothpick inserted in the center comes out clean. Cool completely.
- In another bowl, beat the softened cream cheese until smooth. Add sugar and vanilla extract, mixing until combined.
- In a separate bowl, whip the heavy cream and powdered sugar until stiff peaks form. Gently fold the whipped cream into the cream cheese mixture.
- Once the cake has cooled, remove it from the pan and layer with the cream cheese mixture.
- Chill in the refrigerator for at least 4 hours or overnight before serving.
- Garnish with chocolate shavings or red velvet crumbs before serving.
how to serve Red Velvet Cheesecake
Serve the Red Velvet Cheesecake chilled for the best flavor. You can slice it into wedges and place each piece on a dessert plate. For an extra touch, drizzle some chocolate sauce over each slice or add fresh berries on the side. This cheesecake is perfect for parties, or you can enjoy it as a sweet treat after dinner!
how to store Red Velvet Cheesecake
To store any leftover Red Velvet Cheesecake, cover it tightly with plastic wrap or aluminum foil and place it in the refrigerator. It can last for about 3-5 days. If you want to keep it longer, you can freeze it. Wrap it well in plastic wrap and then in aluminum foil before placing it in the freezer. It can be frozen for up to 3 months.
tips to make Red Velvet Cheesecake
- Make sure your cream cheese is softened before mixing. This helps to create a smooth and creamy cheesecake layer.
- Use room temperature ingredients for the best results; it helps in achieving a well-blended mixture.
- If you want a deeper color in your red velvet layer, feel free to add a little more red food coloring.
- Allow the cheesecake to chill overnight for better flavor and texture.
variation
You can try adding chocolate chips into the cream cheese mixture for a delicious chocolatey surprise. Another great variation is to blend in some crushed cookies or nuts for added texture. You can also experiment by using a flavored whipped cream or adding a layer of fruit preserves on top!
FAQs
1. Can I use homemade red velvet cake instead of cake mix?
Yes, you can! Just make sure to bake it according to the recipe and let it cool before layering with the cream cheese mixture.
2. Can I make this cheesecake gluten-free?
Absolutely! Use a gluten-free red velvet cake mix for the cake base, and ensure that all your other ingredients are also gluten-free.
3. How do I know when the cheesecake is done chilling?
The cheesecake should be set and firm to the touch. It’s best to chill it overnight for the flavors to meld together beautifully.

Red Velvet Cheesecake
- Total Time: 270 minutes
- Yield: 8 servings 1x
- Diet: Vegetarian
Description
A delightful blend of creamy cheesecake and rich red velvet cake, perfect for special occasions.
Ingredients
- 2 cups red velvet cake mix
- 1/2 cup unsalted butter, softened
- 2 large eggs
- 1/2 cup milk
- 16 oz cream cheese, softened
- 1 cup sugar
- 1 teaspoon vanilla extract
- 2 cups heavy cream
- 1/4 cup powdered sugar
- Red food coloring (optional)
- Chocolate shavings or red velvet crumbs for garnish
Instructions
- Preheat your oven to 350°F (175°C). Grease and flour a 9-inch springform pan.
- In a large mixing bowl, combine the red velvet cake mix, softened butter, eggs, and milk. Mix until well combined and pour into the prepared pan.
- Bake the cake for 25-30 minutes, or until a toothpick inserted in the center comes out clean. Cool completely.
- In another bowl, beat the softened cream cheese until smooth. Add sugar and vanilla extract, mixing until combined.
- In a separate bowl, whip the heavy cream and powdered sugar until stiff peaks form. Gently fold the whipped cream into the cream cheese mixture.
- Once the cake has cooled, remove it from the pan and layer with the cream cheese mixture.
- Chill in the refrigerator for at least 240 minutes or overnight before serving.
- Garnish with chocolate shavings or red velvet crumbs before serving.
Notes
For best flavor, serve chilled. Feel free to add chocolate sauce or fresh berries as a garnish.
- Prep Time: 30 minutes
- Cook Time: 30 minutes
- Category: Dessert
- Method: Baking
- Cuisine: American
Nutrition
- Serving Size: 1 slice
- Calories: 450
- Sugar: 35g
- Sodium: 300mg
- Fat: 25g
- Saturated Fat: 15g
- Unsaturated Fat: 7g
- Trans Fat: 0g
- Carbohydrates: 50g
- Fiber: 1g
- Protein: 6g
- Cholesterol: 75mg